Printing color and markings directly on
balsa
by Paul Bradley
When it comes to indoor and micro models, weight is everything.
We all love a nice looking model, but as the size begins to shrink the finish is
often sacrificed in the name of saving weight. If you happen to use balsa for
your your indoor and micro creations, I have a solution to the color and
markings weight problem. Thanks to the technology of computers and ink jet
printers we can create some nice looking models with no weight gain. Let me say
that again .... no weight gain.
This short pictorial article describes a process for printing
color and markings directly on balsa using an ink jet printer. You can create
your killer design and then print it right on the balsa sheets that you will be
using to build the model. While your at it, you can add some color and markings
to dress up the finished model. One of the best parts is the color and markings
are applied before the model is even built, so you have something nice to look
at while that special bird takes shape. Want to give it a try? ... I hope so.
What do you need? There are two basic requirements for
printing on balsa. You first need a printer that has a straight through paper
path. I use a Hewlett Packard model 1120. There are many printers that have this
feature. It also helps if the printer will support banner printing. The second
thing you need is some graphics software to develop your artwork. Just about any
program that will let you draw will work fine. I prefer software that uses
vector graphics so they can be scaled without any loss of resolution. Programs
that draw using bit maps can also be used very effectively.
The process. The photos that follow will take you through
the steps. Basically, the process is create your artwork and then print
the balsa sheets. Here are the more detailed steps.
 |
 |
 |
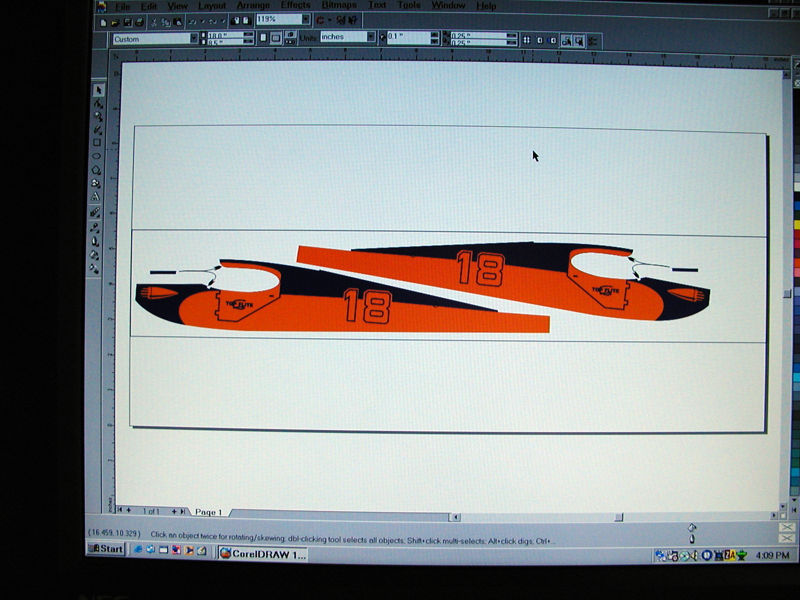
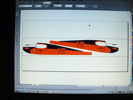
| Begin by creating your artwork. The example shown hear has
been developed using CorelDraw. |
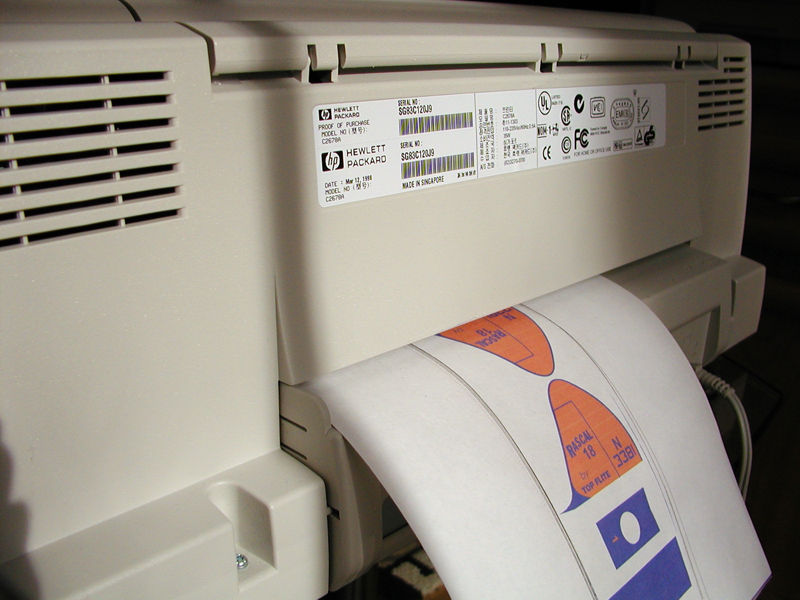
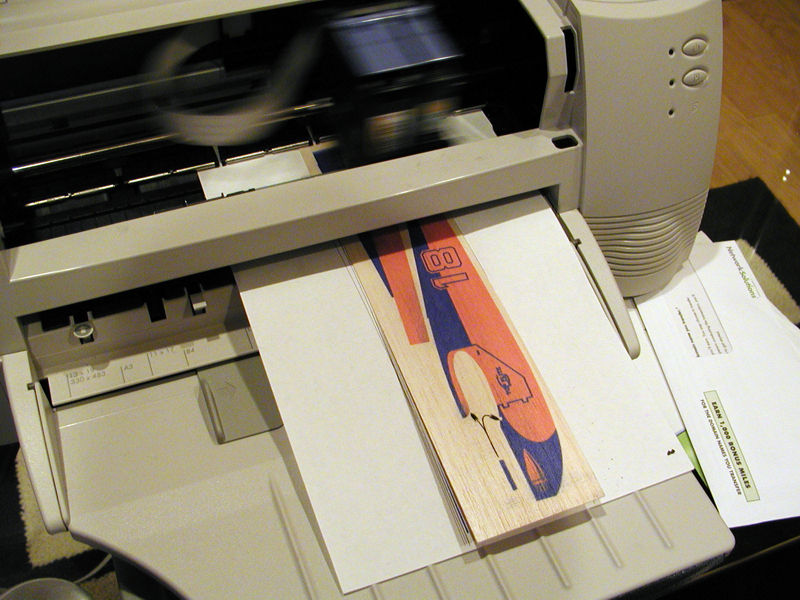
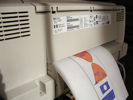
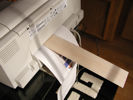
You need a printer that supports a straight through paper
path. Shown here is an HP 1120 with paper fed from the back of the
printer. |
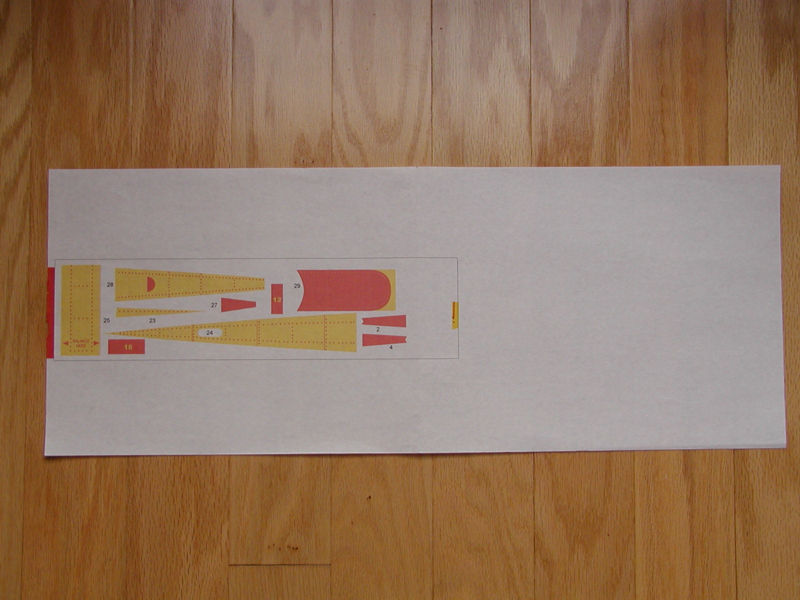
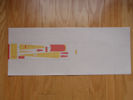
To make alignment of the balsa easy, and to make sure the
printer can handle narrow balsa sheets, create a backing sheet. Print a
sample graphic on the backing sheet to serve as an alignment guide
before actually printing on balsa. |
 |
 |
 |
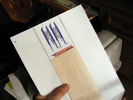
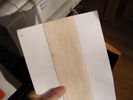
| Once you have a backing sheet created with a copy of your
graphic printed as a guide, align a sheet of balsa in the middle of the
target printing path. |
Next slide the sheet up to the edge of the backing sheet
that will be feed to the printer. You do not need to fasten the balsa to
the backing sheet. |
While holding the backing sheet and balsa strip, feed them
into the printer until they register. You can make minor adjustments to
the balsa sheet alignment after it is registered in the printer. |
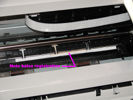
Please note: Some printers have toothed wheels in the paper path that help control the paper as it is printed. These wheels can sometimes
interfere with the balsa and actually cut it into strips. If your printer is set
up like this, it may be necessary to see if the toothed wheels can be removed.
Doing so may cause later problems when printing on paper, so be sure you can
live with any undesirable results from modifications you make to your printer
before implementing.
 |
 |
 |
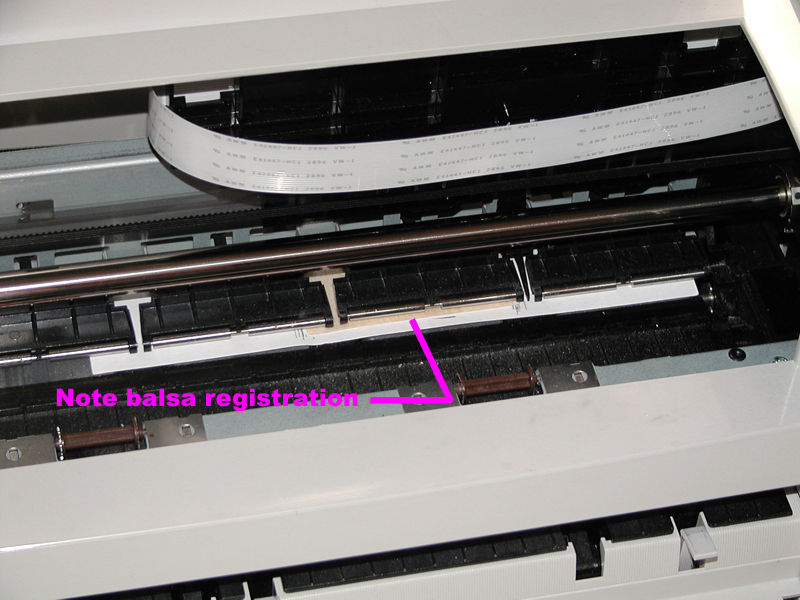
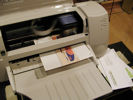
| From the front of the printer, you can be sure the balsa
and backing sheet are properly registered. I have taped down the micro
switch that detects the lid is open so the print head does not move to
the center of the printer. |
Once everything is aligned and registered, start printing.
I use the medium quality or print density setting. This applies plenty
of ink, but keeps lines from bleeding. |
The thickness of balsa that can be used will vary
depending on the printer. I have been able to print up to 1/20"
sheet. I typically use 1/32" sheet. |
 |
 |
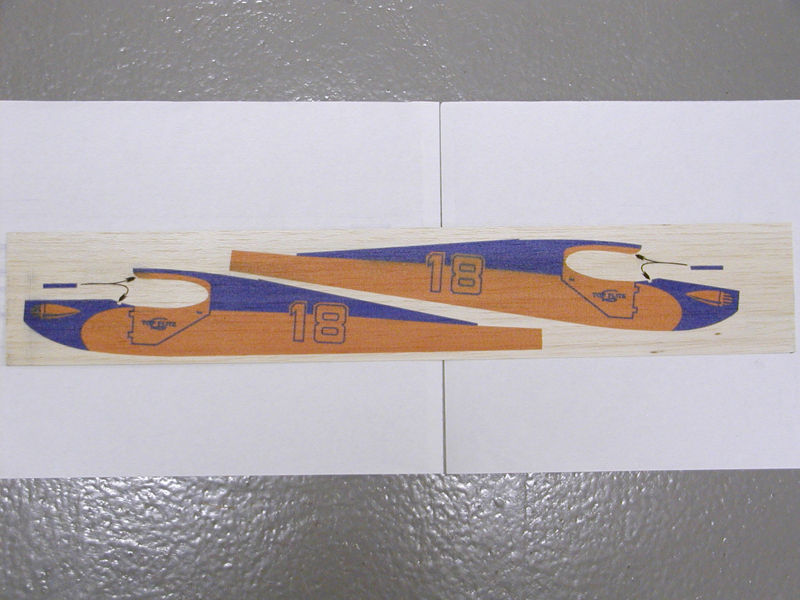
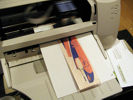
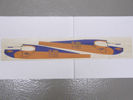
| The finished sheet laying on the backing sheet. The same
backing sheet can be used for many different parts as long as you keep
the parts alignment in the same location for printing. |
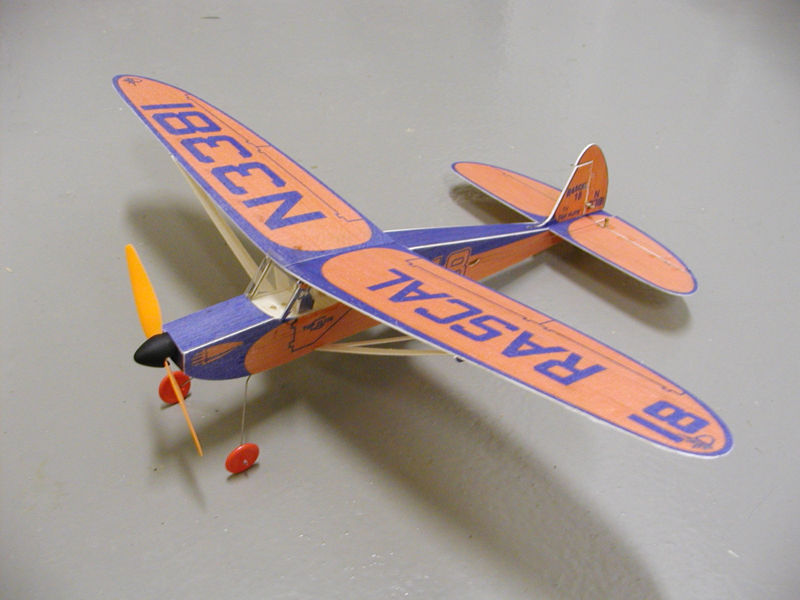
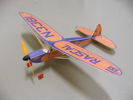
Here is the finished model that was developed using the
described process. This is a reproduction of a 1950's kit from Top Flite
called the Rascal 18. It was intended for rubber powered free
flight operation. The model shown has an 18" wing span and is equipped
with an M-20, 4.2:1 gear drive, single 190 mah Lithium Polymer cell,
JMP Combo radio, and two Bob Selman magnetic actuators. Flying weight is
30 grams. |
In summary, it is possible to develop some very colorful and detailed models
by using a computer driven ink jet printer to print directly on balsa sheets. As
long as you have access to a printer that supports a straight through paper
path, a little imagination, and some 1/32" or 1/20" balsa sheets you
can create some very eye catching models.... with no weight penalty for the
finish. If you have questions or thoughts on the process please feel free to
contact me at bradleyp@ix.netcom.com
Home